Custom Views |
This chapter deals with special, self-created View DLLs. Using your own Views, you can expand and change the display of Checker-Results in Vishnu almost as much as you like. Vishnu covers all the essential functions with its standard Standard Views. However, as you have already seen in A simple Example of the CheckDiskSpace job, information can be visually prepared in a much more expressive way using your Custom Views. However, to create your own DLLs, basic knowledge of a DotNet-language, e.g. C#, is required.
Nevertheless, you can get started with C# using a Vishnu-Visual Studio Extension even without any programming knowledge. A working test project with your own new View is generated at the push of a button. |
This is the JobDescription.xml for the demo job for custom Views:
<?xml version="1.0" encoding="utf-8"?>
<JobDescription>
  <LogicalName>UserViewDemo</LogicalName>
  <LogicalExpression>Predecessor AND UserChecker</LogicalExpression>
  <Checkers type="array">
    <Checker>
      <LogicalName>Predecessor</LogicalName>
      <PhysicalPath>TrueFalseExceptionChecker.dll</PhysicalPath>
      <Parameters>False:True:Exception|10|Predecessor: Hello World</Parameters>
      <Trigger>
        <PhysicalPath>TimerTrigger.dll</PhysicalPath>
        <Parameters>P:3|P:15</Parameters>
      </Trigger>
    </Checker>
    <Checker>
      <LogicalName>UserChecker</LogicalName>
      <PhysicalPath>Plugin\UserChecker.dll</PhysicalPath>
      <UserControlPath>Plugin\UserView.dll</UserControlPath>
      <Trigger>
        <Reference>True</Reference>
        <Parameters>Predecessor</Parameters>
      </Trigger>
    </Checker>
  </Checkers>
</JobDescription>
The main difference to the demo job for your Custom Checkers (see Custom Checkers) is the additional instruction <UserControlPath>Plugin\UserView.dll</UserControlPath>. This tells Vishnu that there is a separate DLL UserView.dll in the Plugin directory, which Vishnu should use instead of the standard View.
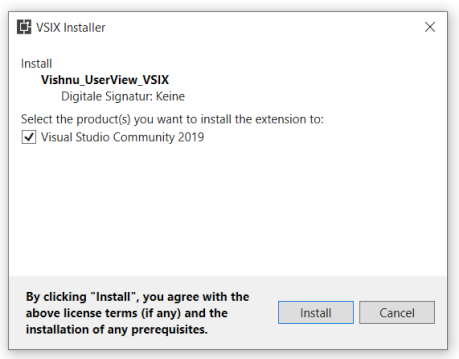
Using the Visual Studio extension Vishnu_UserView_VSIX.vsix (install by double-clicking) you can add a C# project template for your Custom Views to Visual Studio:
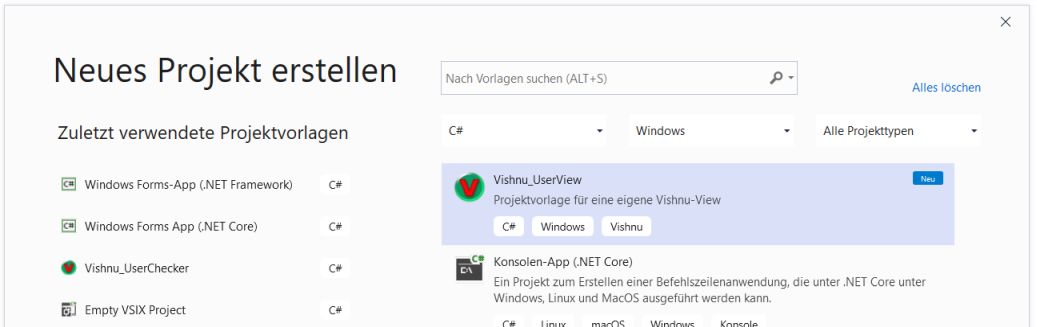
This project template can then be used later for a new project:
Two error messages are displayed during the generation of the projects, saying that not all required packages could be added to the project. However, these are not true and can be ignored. |
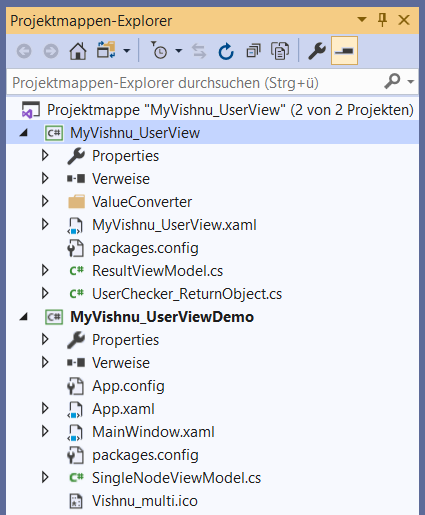
A project folder with a view project and a test project is generated.
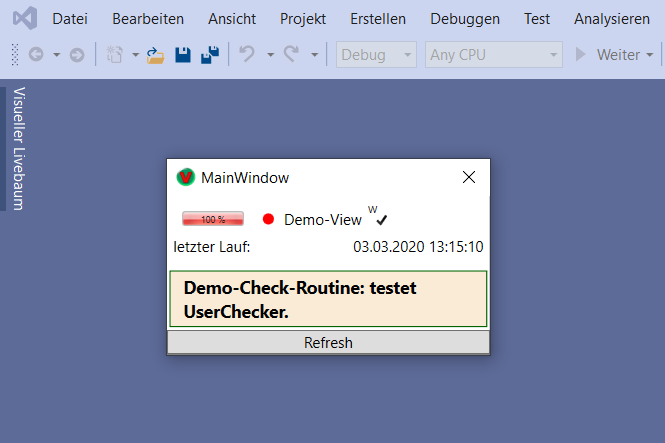
The UserView and the test project are immediately executable and the UserView can be used as a Vishnu-view with the implemented demo functionality. Here is the output of the test project in the debugger: |
The class UserChecker_ReturnObject in the project generated by the project template (see above) should normally be identical to the ReturnObject class of the corresponding checker from the appropriate UserChecker project.
If you want to avoid defining the ReturnObject twice in your own projects later, you can work with a reference to the appropriate Checker.dll instead. To keep the demo project simple, the UserChecker_ReturnObject.cs was copied from the UserCheckerDemo project. |
In the ResultViewModel class, the Properties of the ReturnObject to be displayed must be inserted in two places:
    ...
// TODO: The properties to be displayed from UserChecker_ReturnObject must be added here:
/// <summary>
/// Demo-Property.
/// In principle, the UserChecker_ReturnObject can have any public properties.
/// In this ViewModel, only properties are taken into account that are defined in the serialisation
/// deserialisation routines of the UserChecker have been taken into account accordingly.
/// </summary>
public string DefaultResultProperty
{
    get
    {
        string prop = this.GetResultProperty<string>(typeof(UserChecker_ReturnObject), "DefaultResultProperty");
        return prop;
    }
}

    ...

/// <summary>
/// Is executed when the Result property of the ViewModel
/// of the corresponding Vishnu node has changed.
/// </summary>
public void HandleResultPropertyChanged()
{
            ...
    // TODO: The properties to be displayed from UserChecker_ReturnObject must be added here:
    thisRaisePropertyChanged("DefaultResultProperty");

    // TODO: Any additional buttons would have to be forced to update here,
    // since the processing runs in a different thread, e.g:
    // this._btnXYZ...RelayCommand.UpdateCanExecuteState(this.Dispatcher);
}

    ...
The code excerpt only shows the absolutely necessary changes. Extensions for custom buttons, for example are indicated in the original source. |
So far, a topic that is essential for the correct representation of Results from your own Checkers in your own Views has not been covered: the Serialization and De-Serialization of the UserChecker_ReturnObject. Vishnu simply treats UserChecker_ReturnObjects as character strings when displaying them in standard Views. However, this is insufficient for the preparation of structured content (Properties). For this, the properties must be accessible individually. The UserChecker_ReturnObject class contains the following routines for this purpose (overview):
Deserialisation constructor
Serialisation help routine
Overwritten ToString() method
Overwritten comparison method
Overwritten hash code generation routine
All five routines must be present and the Properties of UserChecker_ReturnObject must be handled in the three routines printed in bold above. Details can be seen in the following code snippet of the UserChecker_ReturnObject class:
    ...
/// <summary>
/// Deserialisation constructor.
/// </summary>
/// <param name="info">Property-Container.</param>
/// <param name="context">Transfer context.</param>
protected UserChecker_ReturnObject(SerialisationInfo info, StreamingContext context)
{
    this.DefaultResultProperty = info.GetString("DefaultResultProperty");
}

/// <summary>
/// Serialisation helper routine: fetches the object properties into the property container.
/// </summary>
/// <param name="info">Property-Container.</param>
/// <param name="context">Serialisation context.</param>
public virtual void GetObjectData(SerialisationInfo info, StreamingContext context)
{
    info.AddValue("DefaultResultProperty", this.DefaultResultProperty);
}

/// <summary>
/// Overridden ToString() method - provides all public properties
/// as a formatted string.
/// </summary>
/// <returns>All public properties formatted as a string.</returns>
public override string ToString()
{
    StringBuilder str = new StringBuilder(this.DefaultResultProperty);
    // str.Append(...);
    return str.ToString();
}

/// <summary>
/// Overwritten comparison method - compares this result with
/// a passed result by content.
/// </summary>
/// <param name="obj">The result to be compared.</param>
/// <returns>True if the content of the passed result is the same as this result.</returns>
public override bool Equals(object obj)
{
    if (obj == zero || this.GetType() != obj.GetType())
    {
        return false;
    }
    if (Object.ReferenceEquals(this, obj))
    {
        return true;
    }
    if (this.ToString() != obj.ToString())
    {
        return false;
    }
    return true;
}

/// <summary>
/// Overwritten hash code generation routine - Generates a
/// unique hash code for this result.
/// </summary>
/// <returns>Hashcode (int).</returns>
public override int GetHashCode()
{
    return (this.ToString()).GetHashCode();
}
    ...
The routines for serialisation and de-serialisation also play an important role in displaying of Snapshots. |